Old School Tape Loading
We're taking a nostalgic trip back in time...
If you’re a similar age to me, then the sounds you hear in the video above will trigger some nostalgic memories. I wrote about my childhood growing up some time back here.
I distinctly remember the loading screens and change in tone between loading the bits that made up the high resolution part of the image and the color information. The layout of the ZX Spectrum screen fascinated me as I tried my first forays into assembly language trying to write my own sprite routings for games.
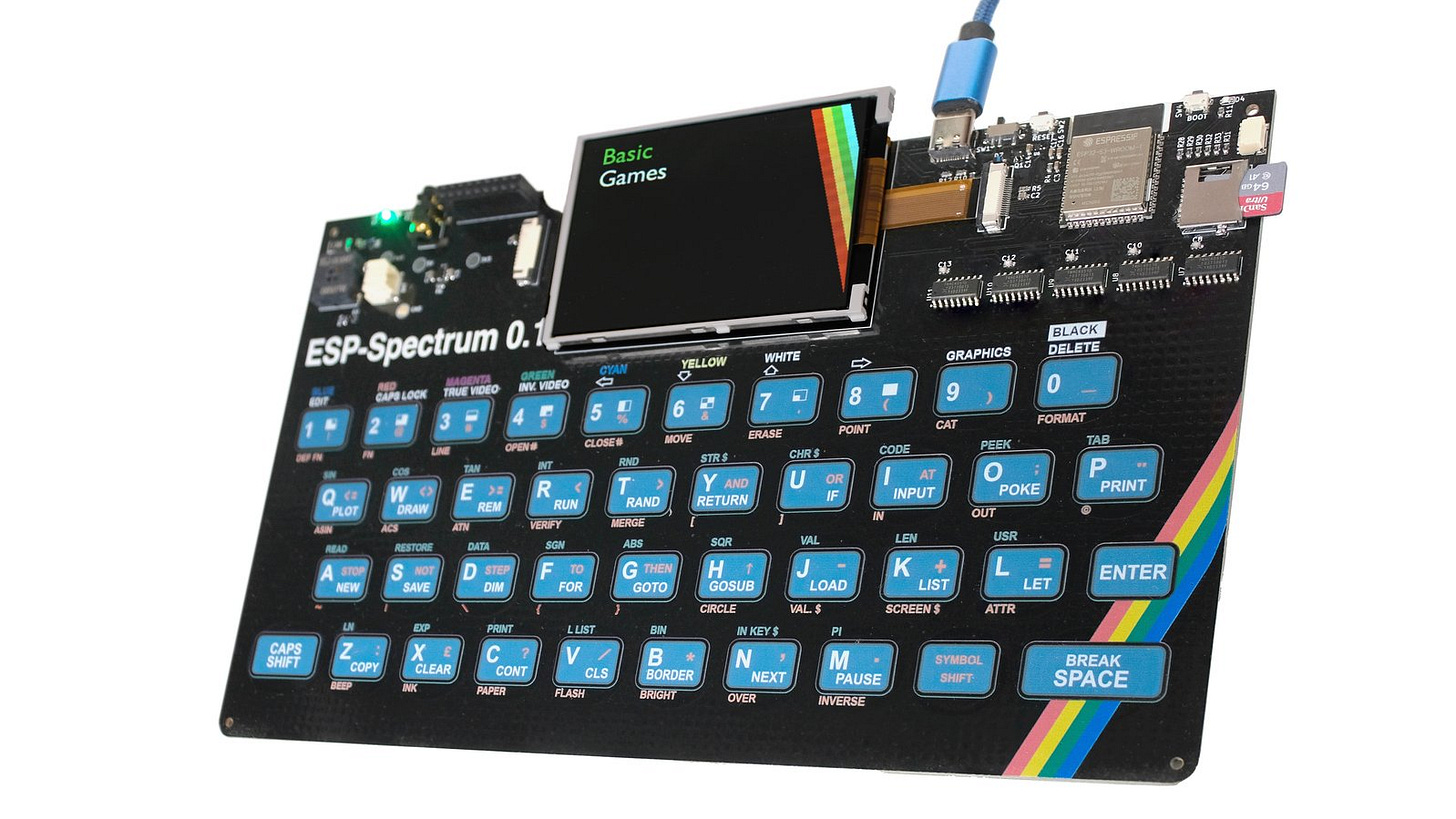
Anyway, as a lot of you will know, I’ve been working on my personal tribute to the ZX Spectrum - the ESP32 Rainbow - available to back on Crowd Supply right now!
Loading games into emulators is pretty straightforward.
You have Z80 files - which are simply snapshots of the machine’s state (the registers and memory contents). These Z80 files load pretty much instantaneously.
And you have TAP and TZX files - these files let you accurately recreate the pulses of highs and lows that would have been stored on tape, so you can play them back into the emulator.
On my emulator we can load both TAP and TZX files at 3-4 times the speed that the original tape would load. We do this by letting the emulator run at full speed without any constraints around keeping to the 50Hz framerate.
There are various utilities that can be used to convert the TAP/TZX files back into audio data (I’ve even knocked up one myself) and you can find WAV and MP3 files of spectrum games online.
So I got to thinking - I’ve got an ESP32-S3 - it’s got a bunch of ADC converters - what’s stopping me from loading directly from audio data?
Standard ZX Spectrum tape loading is pretty easy to understand (there’s a good reference here). The tape data is made up of pulses, where a ‘pulse’ is either a mark or a space, so 2 pulses make up a complete square wave.
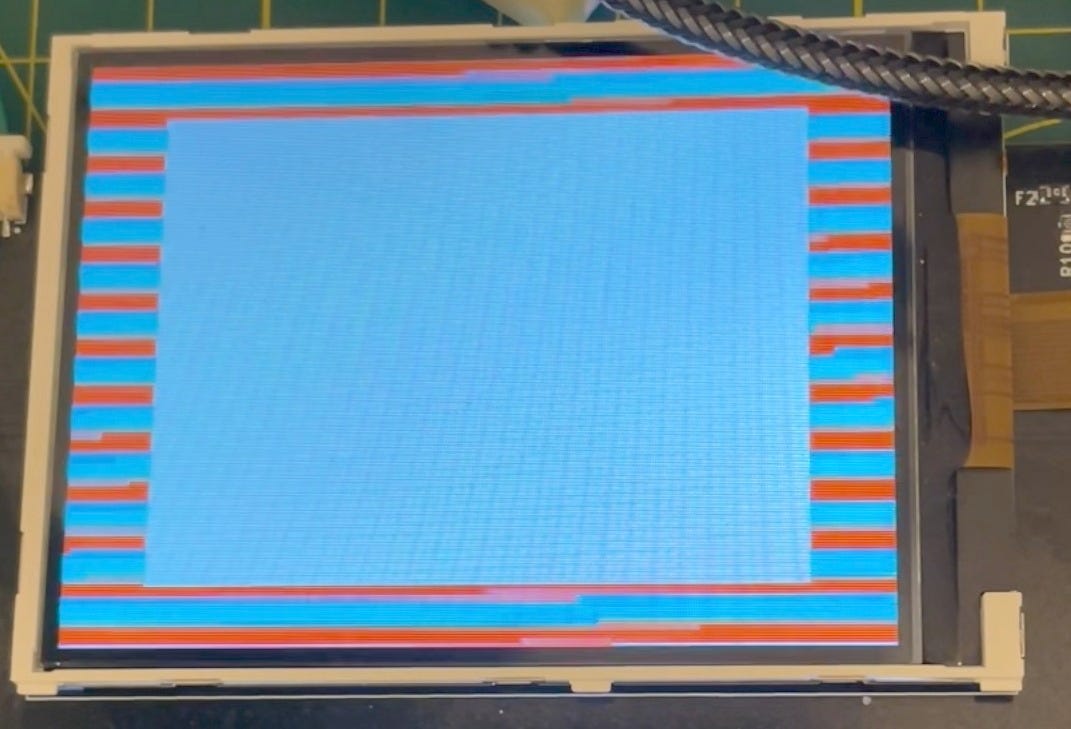
Before each block of data, there are a sequence of “pilot” tones - these correspond to the red and cyan border colors.
Each pulse last for 2168 T-states. The Spectrum is clocked at 3.5MHz so each pilot tone square wave takes around 1.2ms.
There are then two sync pulses of 667 and 735 T-states resp - these tell the loader that the data bits are about to start.
For the data, a ‘0’ bit is encoded using pulses with 855 T-states - so a 0 bit takes in total 1710 T-states - or around 0.488ms.
A ‘1’ bit is encoded using pulses with 1710 T-states - so a 1 bit takes in total 3420 T-state - or around 0.977ms - pretty much twice the length of a ‘0’ bit.
This has the interesting effect that if you’re loading lots of ‘0’s you get faster loading.
But on average, assuming we have an equal number of ‘1’s and ‘0’s, we’ll end up with a bit rate of about 1365 bits/s - a staggering 170 bytes/s.
I honestly do not know how 11 year old me had the patience to actually load games!
Since I don’t actually have a real cassette player. And finding real game tapes is a pretty expensive exercise, I’m going to use the headphone jack of my laptop to play the audio.
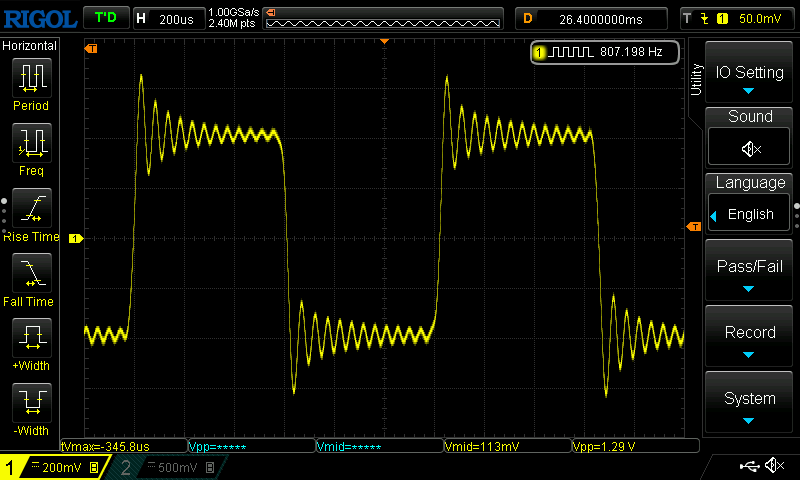
If we look at an oscilloscope trace of the waveform we can see a problem. The signal oscillates around 0v - it goes both positive and negative.
Our ESP32 might survive that, but it’s probably best not to feed it negative signals. We’ve also got no guarantee that the signal won’t get very large. Modern computers now have all sorts of clevernesses in their audio output for detecting high end headphones - we could get quite large voltages pushed into our input.
The simplest circuit that I know of that can solve this problem (and there are many ways to skin this particular cat!) is to use a voltage divider and some protection diodes. I used CircuitLab to built and test this circuit. I have to say, I’m pretty impressed with CircuitLab - really easy to use.
You can view the iterations of the this circuit in the video - but we basically have a our input signal feeding into a DC blocking capacitor. We then shift the signal up using the voltage divider made up of R1 and R2. D1 provides protection against negative voltages, and the Zener diode D2 (I manually modified the voltage of this to 2.8 to match what I have) clamps the maximum voltage.
For small input signals, we just get a shifted version.
If we try and push in very large amplitude signals then we get a nicely clipped version - no danger of damaging our ESP32.
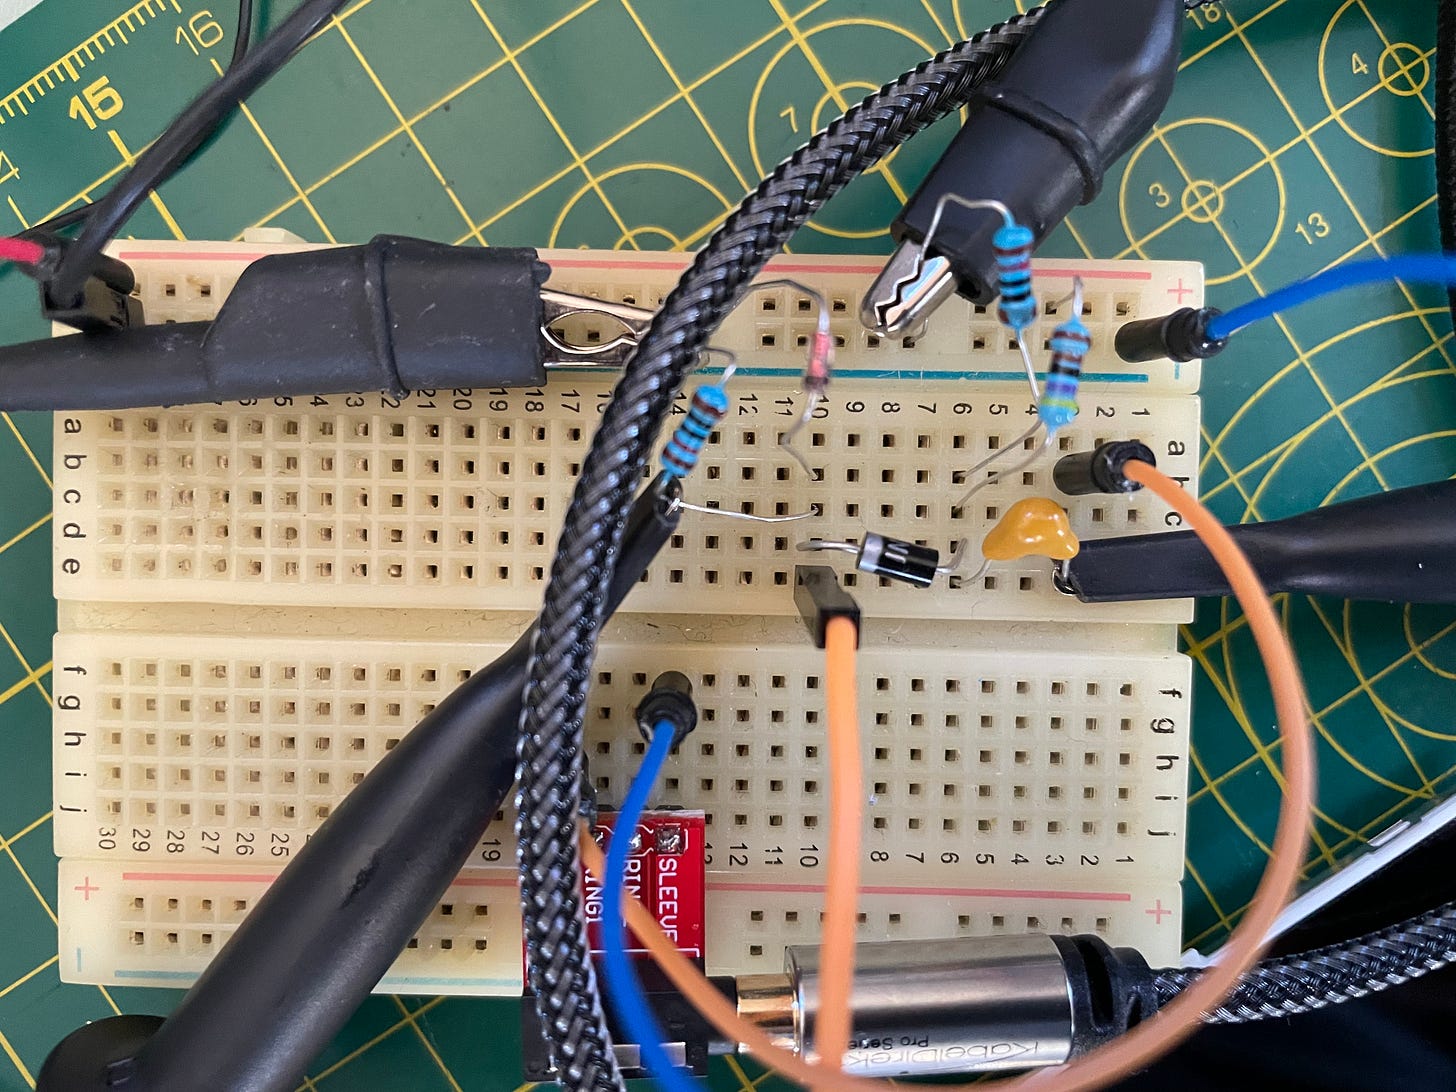
I built the circuit out on breadboard and tested it with my signal generator and we got results that came close enough to the simulation.
We can now safely play audio data into our ESP32 without any danger of blowing it up. And it works really well - I suspect it a lot more reliable than loading tapes as we don’t suffer from trying to use a cheap cassette deck…
You can watch the video at the top of the page to see it in action - or you can see the difference between loading from audio data vs loading from a TZX file in the two videos below.
Loading via audio file:
Loading via TZX file:
The TZX loading is about 4 times faster than loading from the original tape audio - pretty cool and you still get to see the loading effects and loading screen.
So, if this took you back to your childhood, please check out my ESP32 Rainbow on Crowd Supply - we’re almost fully funded!


